
Cisco ASA Series 1: Restoring the ASA to Factory Default Configuration
Restoring the ASA to Factory Default Configuration
In this article we are going to talk about the restoring the ASA configuration to the Factory Default Configuration in order to use it again.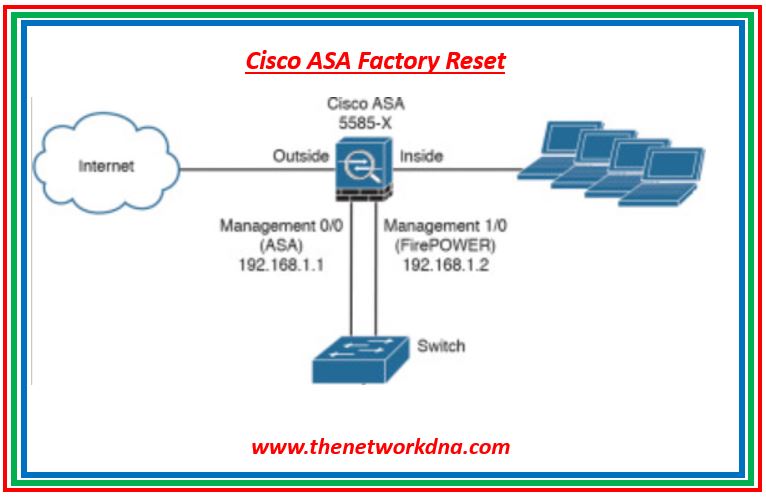 |
| Fig 1.1- Cisco ASA |
The ASA 5505 is shipped with a factory default configuration, which consists of the following
- An inside VLAN 1 interface that includes the Ethernet 0/1 through 0/7 switch ports. The VLAN 1 IP address and mask are 192.168.1.1 and 255.255.255.0.
- An outside VLAN 2 interface that includes the Ethernet 0/0 switch port. VLAN 2 derives its IP address using DHCP and A default route derived from DHCP.
- All inside IP addresses are translated when accessing the outside using interface PAT.
- By default, inside users can access the outside with an access list, and outside users are prevented from accessing the inside.
- The DHCP server is enabled on the security appliance, so a PC connecting to the VLAN 1 interface receives an address between 192.168.1.2 and 192.168.1.254.
- The HTTP server is enabled for ASDM and is accessible to users on the 192.168.1.0 network
After a configuration, you can use the configure factory-default command to go back to these changes if necessary. Enter Configuration mode and the configure factory-default command to return the ASA to its factory default settings.
Cisco NDNA_ASA #config t
Cisco NDNA_ASA (Config)# configure factory-default
The configuration can then be saved by using the write memory command or the reload command with the yes option selected to save the modified configuration. Save the configuration and reload the ASA.
Now that the default configuration has been restored to the ASA, we will begin configuration from ASDM


